Showing posts with label Ghee. Show all posts

January 26, 2022

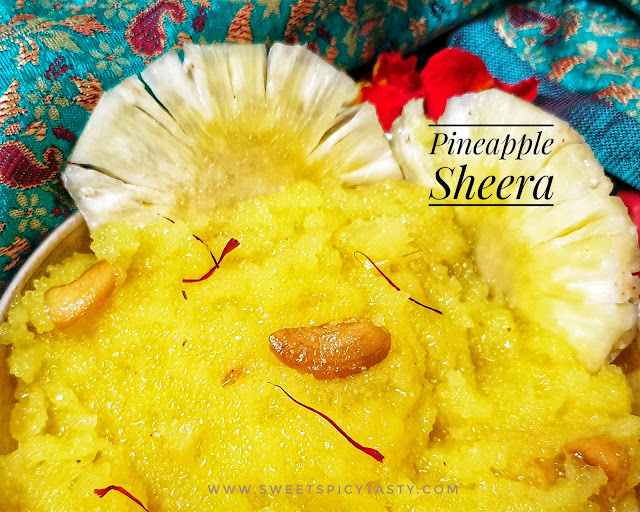
Pineapple Kesari | Pineapple Sheera - 400th Post


Share with friends and family 5 comments:

 Am so very excited and glad to publish my 400th recipe today and so elated as it co incides with the 73rd Republic Day of My Country, India .

Any special occasion is incomplete without a sweet and here is another yummy and lipsmacking sweet from my mom's kitty - Pineapple Sheera. Also known as pineapple kesari Baath or pineapple kesari, it's a delicacy from the state of Karnataka and is often served in weddings for Breakfast or evening snacks along with Khara Bhaath .

I thank every single person who has helped me in my blogging journey in whatever way possible . My Family and friends have always been very supportive of my work and have encouraged me at all times and made sure I push my boundaries more and more .
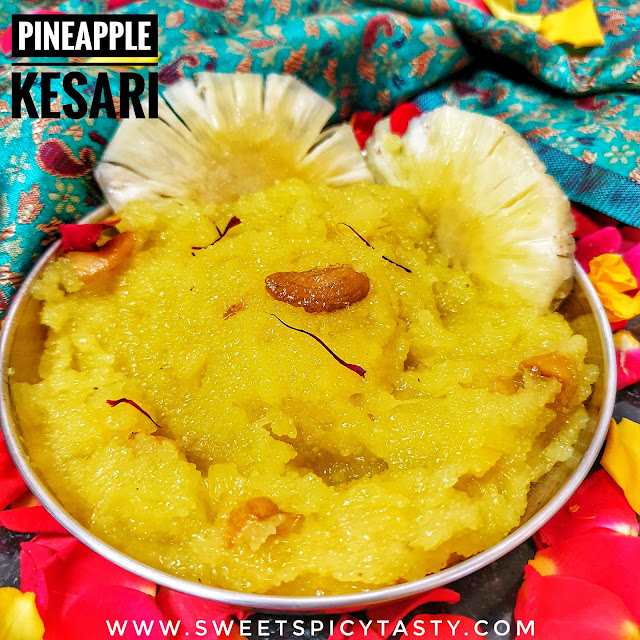
Amma would make the best Sheera/Kesari in the world and we can never forget that taste. She never liked using artificial  color or essence to the sheera and was always particular about that. 

Pineapple sheera was her all time hit .She always used little turmeric powder for the color and only fresh juicy pineapples would go into the kesari ,no essence or canned pineapples either .

The small juicy bits of pineapple with every spoonful of kesari is a delight and best enjoyed when the sheera is served warm with the right amount of ghee . 

As I always say,to get the perfect grainy and tasty sheera,the key is in roasting the rava/sooji/semolina to perfection on a medium flame in right amount of ghee . 
Preparation Time - 10 mins

Cooking Time - 20 mins

Serves - 2 to 3

Complexity - medium 

Ingredients 

1 cup rava 
2 cups water 
10 tbsp ghee 
1/2 cup freshly chopped pineapple 
1 cup sugar
Few saffron strands
Pinch of turmeric 
Few cashewnuts 

Method 
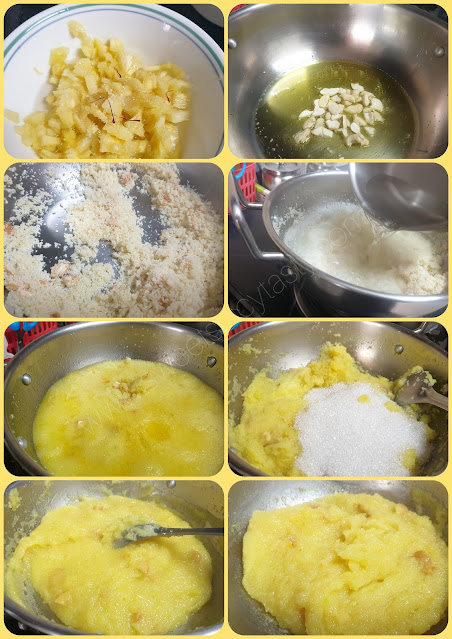

Method

  • Cook the pineapple with 1/4 cup water , 2 tbsp sugar and few saffron strands until the pineapples turn soft.  This step will ensure that the kesari doesn't turn tart with the use of fresh cut pineapples. Let this cool for a while. 
  • Place a sauce pan with the 2 cups of water for boiling. 
  • Heat about 3 tbsp of ghee in a kadai and fry the cashews until golden brown followed by the rava .
  • Keep roasting the rava until you get a fragrant aroma and the ladle feels light to handle while roasting. 
  • Pour 2 cups of boiling water along with a pinch of turmeric and quickly stir to avoid lumps . Cook until all the water is absorbed into the rava .
  • Add the cooked pineapple, 2 tbsp ghee and mix it well. 
  • Now go ahead and add the sugar and mix it nicely.  The kesari/sheera will appear liquid again as sugar melts,but continue cooking on medium flame until the sheera starts thickening again.
  • Add the remaining ghee in batches and keep stirring till the sheera leaves the sides of the pan and appears to be shiny ,glossy and smooth. 
  • Delicious pineapple sheera is ready to be served warm .
  • The shelf life of pineapple sheera is ab2 days when kept in fridge.  I don't like to keep it for a long time and consume as the tartness from the pineapple tends to impart an odd after taste after 1 or 2 days.


February 25, 2013

Semiya (Shaavige) Payasam / Sevayyan Kheer / Vermicelli Pudding


Share with friends and family 5 comments:

Semia Payasam (tamil) / Sevaiyan Kheer (Hindi) is a traditional sweet dish made using milk and vermicelli.Seasoned with ghee roasted cashewnuts and flavored with fresh saffron.

Semiya, Shaavige , Sevayyan refer to vermicelli and Payasam or kheer means pudding . 

Semiya Payasam is the first sweet which I learnt to make when I was trying my hands at cooking .
I always loved the Semiya payasam that amma would make and hence I was insistent that she taught me how to make it . Needless to say ,this shavige payasam (sevayyan kheer) is very close to my heart .

Sevayyan kheer , kheer , shavige payasam , shaavige payasa , payasa  , semiya payasam , semia paysam , payasam , vermicelli pudding , vermicelly kheer , vermicelly payasam , vermicelli payasam

As simple as it may sound to make Semiya Payasam, we need to take care of a few things while making the payasam which will help you make the best kheer .Mom taught me these simple ,yet efficient tips and I can proudly say that Semiya Payasam never fails me and there is a huge fan following for the payasam I make . So here I am,sharing those tips and tricks with you all.

  • Always use the non roasted vermicelli that is available in the market to make Semiya Payasam.  When we roast the semiya in ghee ,make sure you donot over roast it . The vermicelli will appear translucent and you will feel light while roasting, this is the perfect texture of the semiya to make kheer .
  • Use pre boiled milk while making kheer as this will cut down the risk of milk curdling and also saves a lot of time waiting for the milk to Simmer along with the semiya .
  • Soak the saffron in warm milk and rub it with your fingers gently before you add it to the paysam . This will give you maximum flavor of saffron and a subtle yellow color to the payasam. 
  • You can dry roast a couple of almonds and pistachios to make a coarse powder and add it to the simmering payasam for added richness and taste.
  • Semiya payasam will turn a little thick on cooling down , so before serving you can dilute it by adding some warm milk .
Sevayyan kheer , kheer , shavige payasam , shaavige payasa , payasa  , semiya payasam , semia paysam , payasam , vermicelli pudding , vermicelly kheer , vermicelly payasam , vermicelli payasam

This week (6th May 2023) we have achieved a milestone in our Foodies_Redoingoldposts Facebook group.  This is our 100th week and we are celebrating it by redoing one of our favorite sweet post . I chose to update the write up and photos of my favorite Vermicelli Kheer for this wonderful achievement. 


Preparation time : 5 mins
Cooking Time : 20 to 30mins
Serves: 3-4
Complexity: simple

Ingredients
1 /2 cup vermicelli
1/2 litre full fat or  2% fat milk  boiled 
4-5 cardamoms/elaichi powdered
Few cashew nuts
Roughly chopped almonds and pistachios
Few saffron strands / kesar soaked in warm milk
2 tbsp ghee
1/2 cup sugar + extra if you need more sweetness.

Method

  • Heat the ghee in a thick bottomed vessel.
  • First fry the cashewnuts in ghee until golden brown and keep aside.
  • In the same vessel,add the vermicelli and fry it in ghee until it turns crisp.
  • Now slowly add the milk and keep stirring the mixture.
  • The milk will slowly start boling and as you keep stirring will begin to get thicker and will turn light pinkish on simmering.
  • Donot let the milk to get very thick. 
  • Reduce the flame,add the sugar,cardamom powder,saffron and fried cashews to the kheer and simmer for 3-4 mins till the sugar dissolves well into the kheer. The paysam will appear a little diluted after adding sugar , but contine to simmer for 4-5 mins and then the consistency will be perfect.
  •  Add chopped badams and pista to the kheer
  • Serve hot or cold.
  • Incase the kheer/payasam feels too thick,you can add some warm boiled milk and dilute it.

Pin me up

Sevayyan kheer , kheer , shavige payasam , shaavige payasa , payasa  , semiya payasam , semia paysam , payasam , vermicelli pudding , vermicelly kheer , vermicelly payasam , vermicelli payasam


February 22, 2013

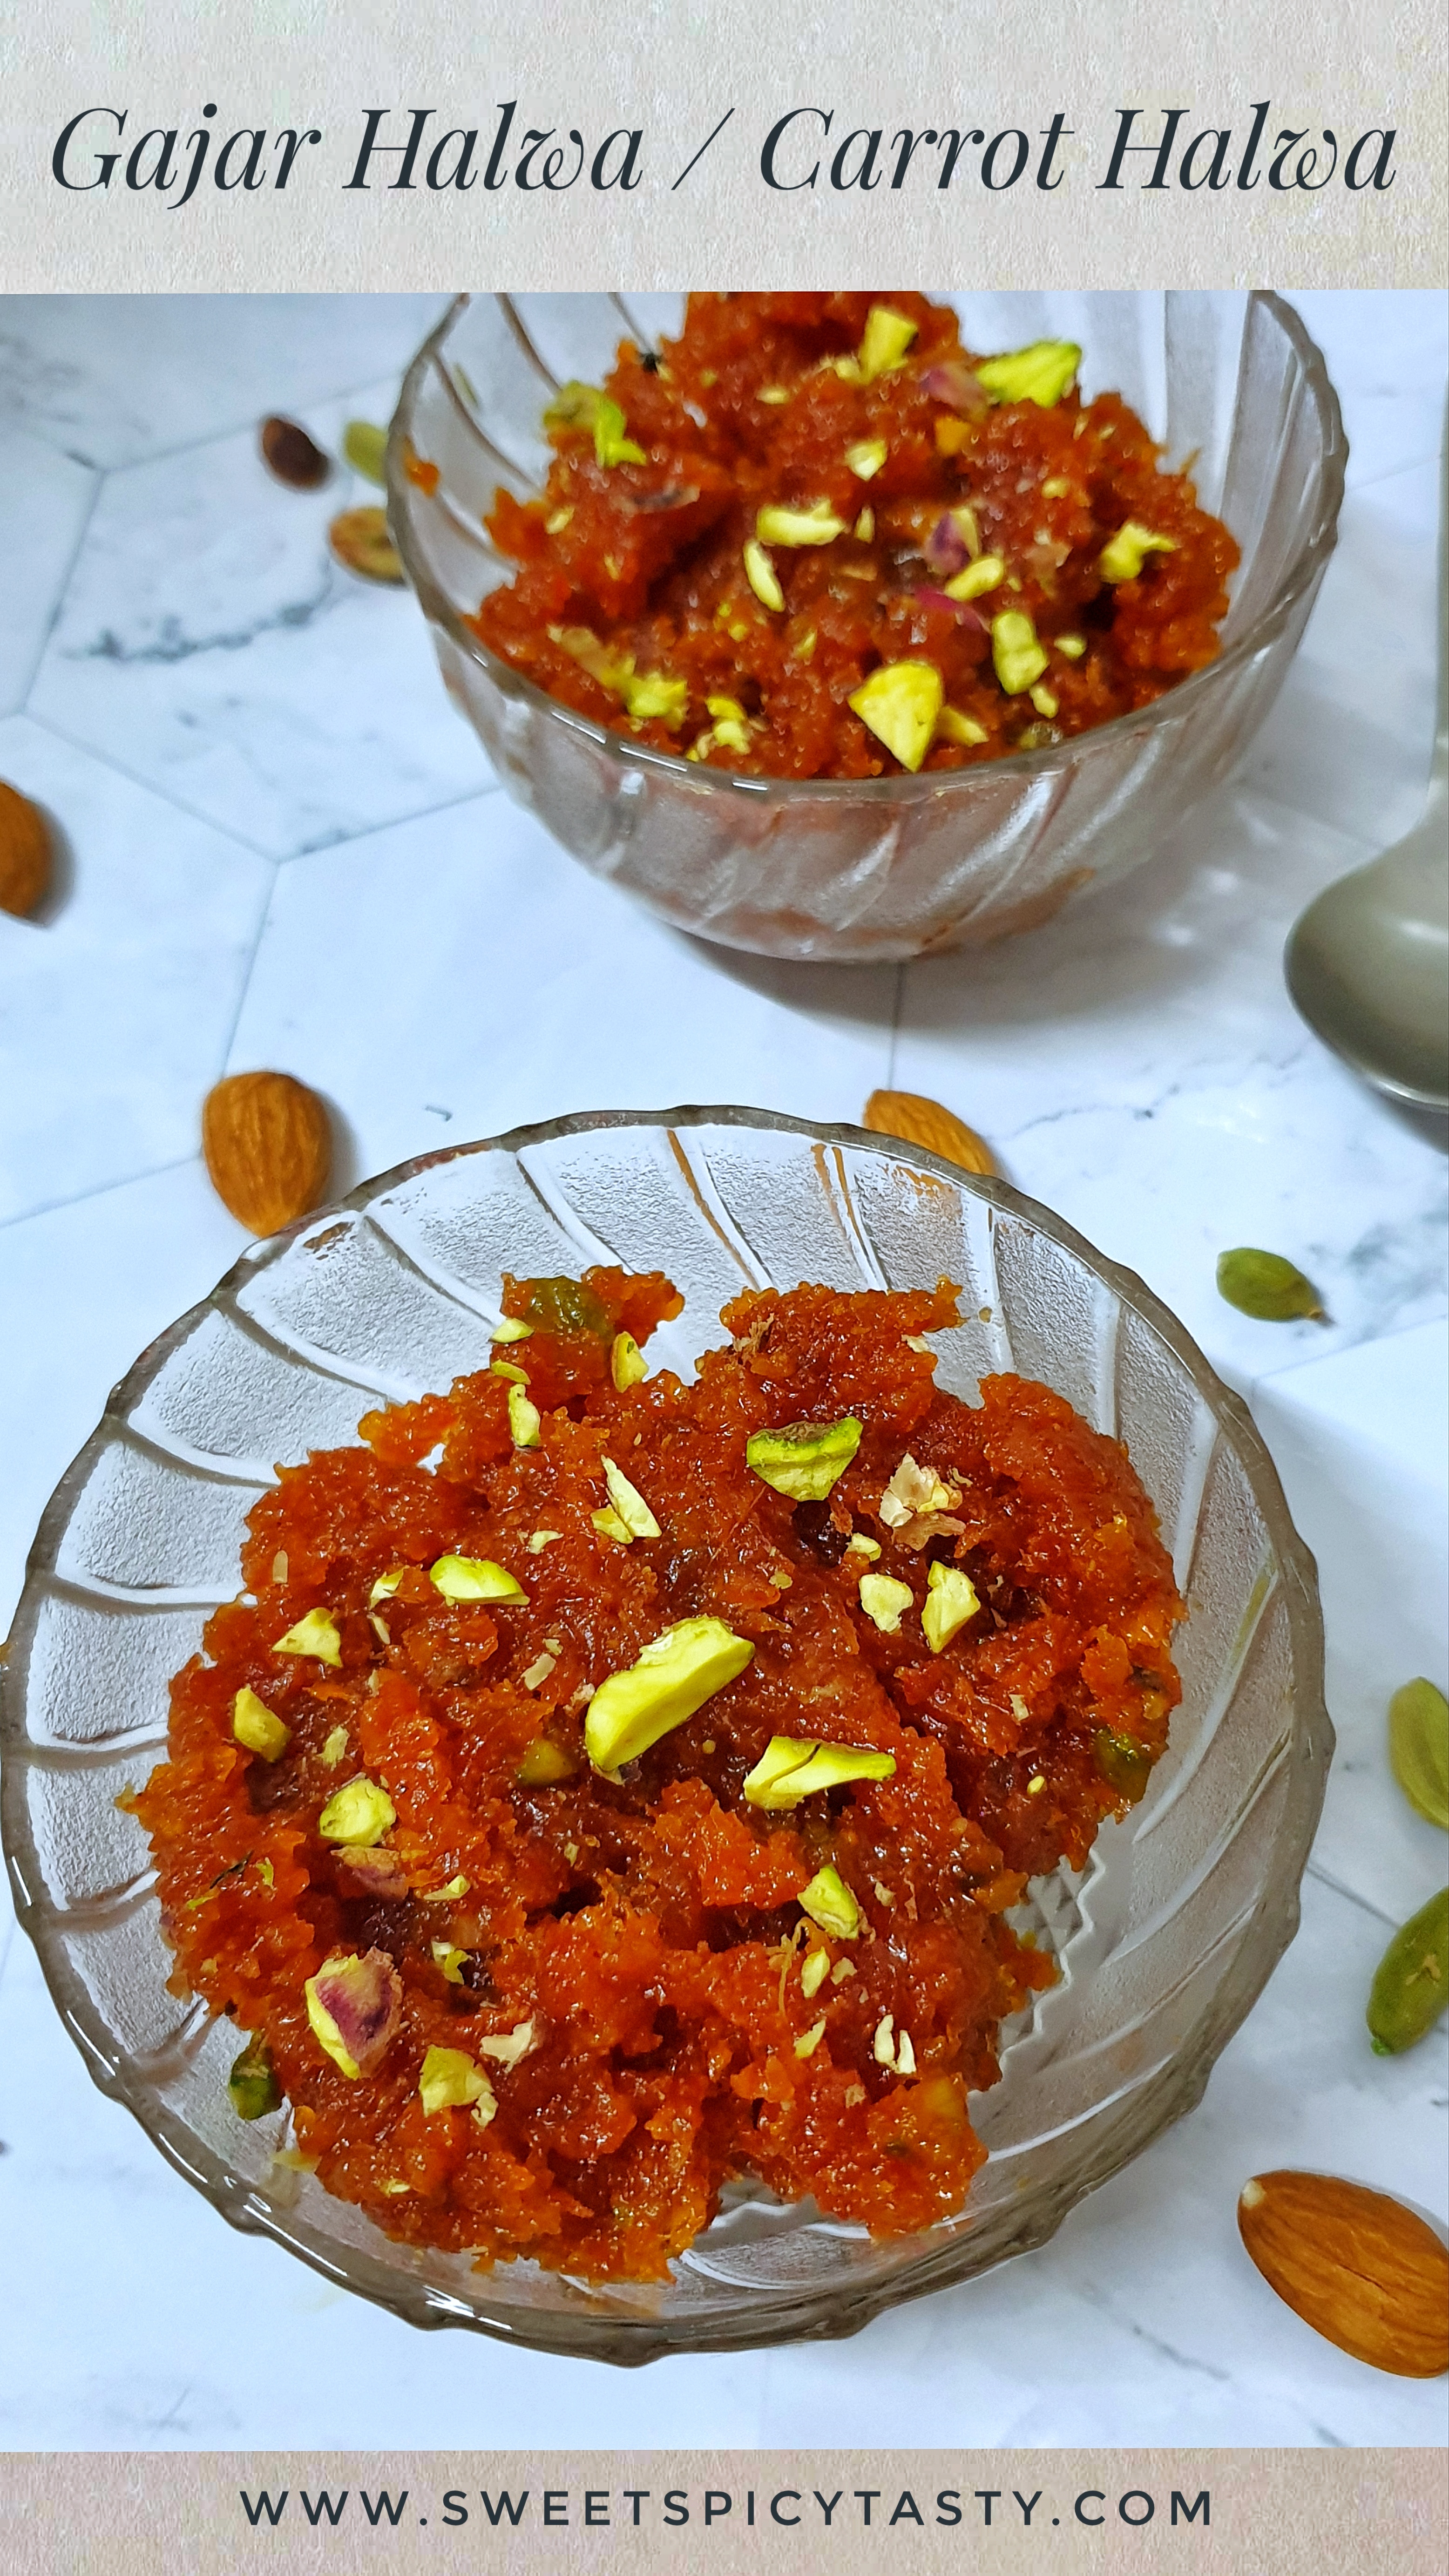
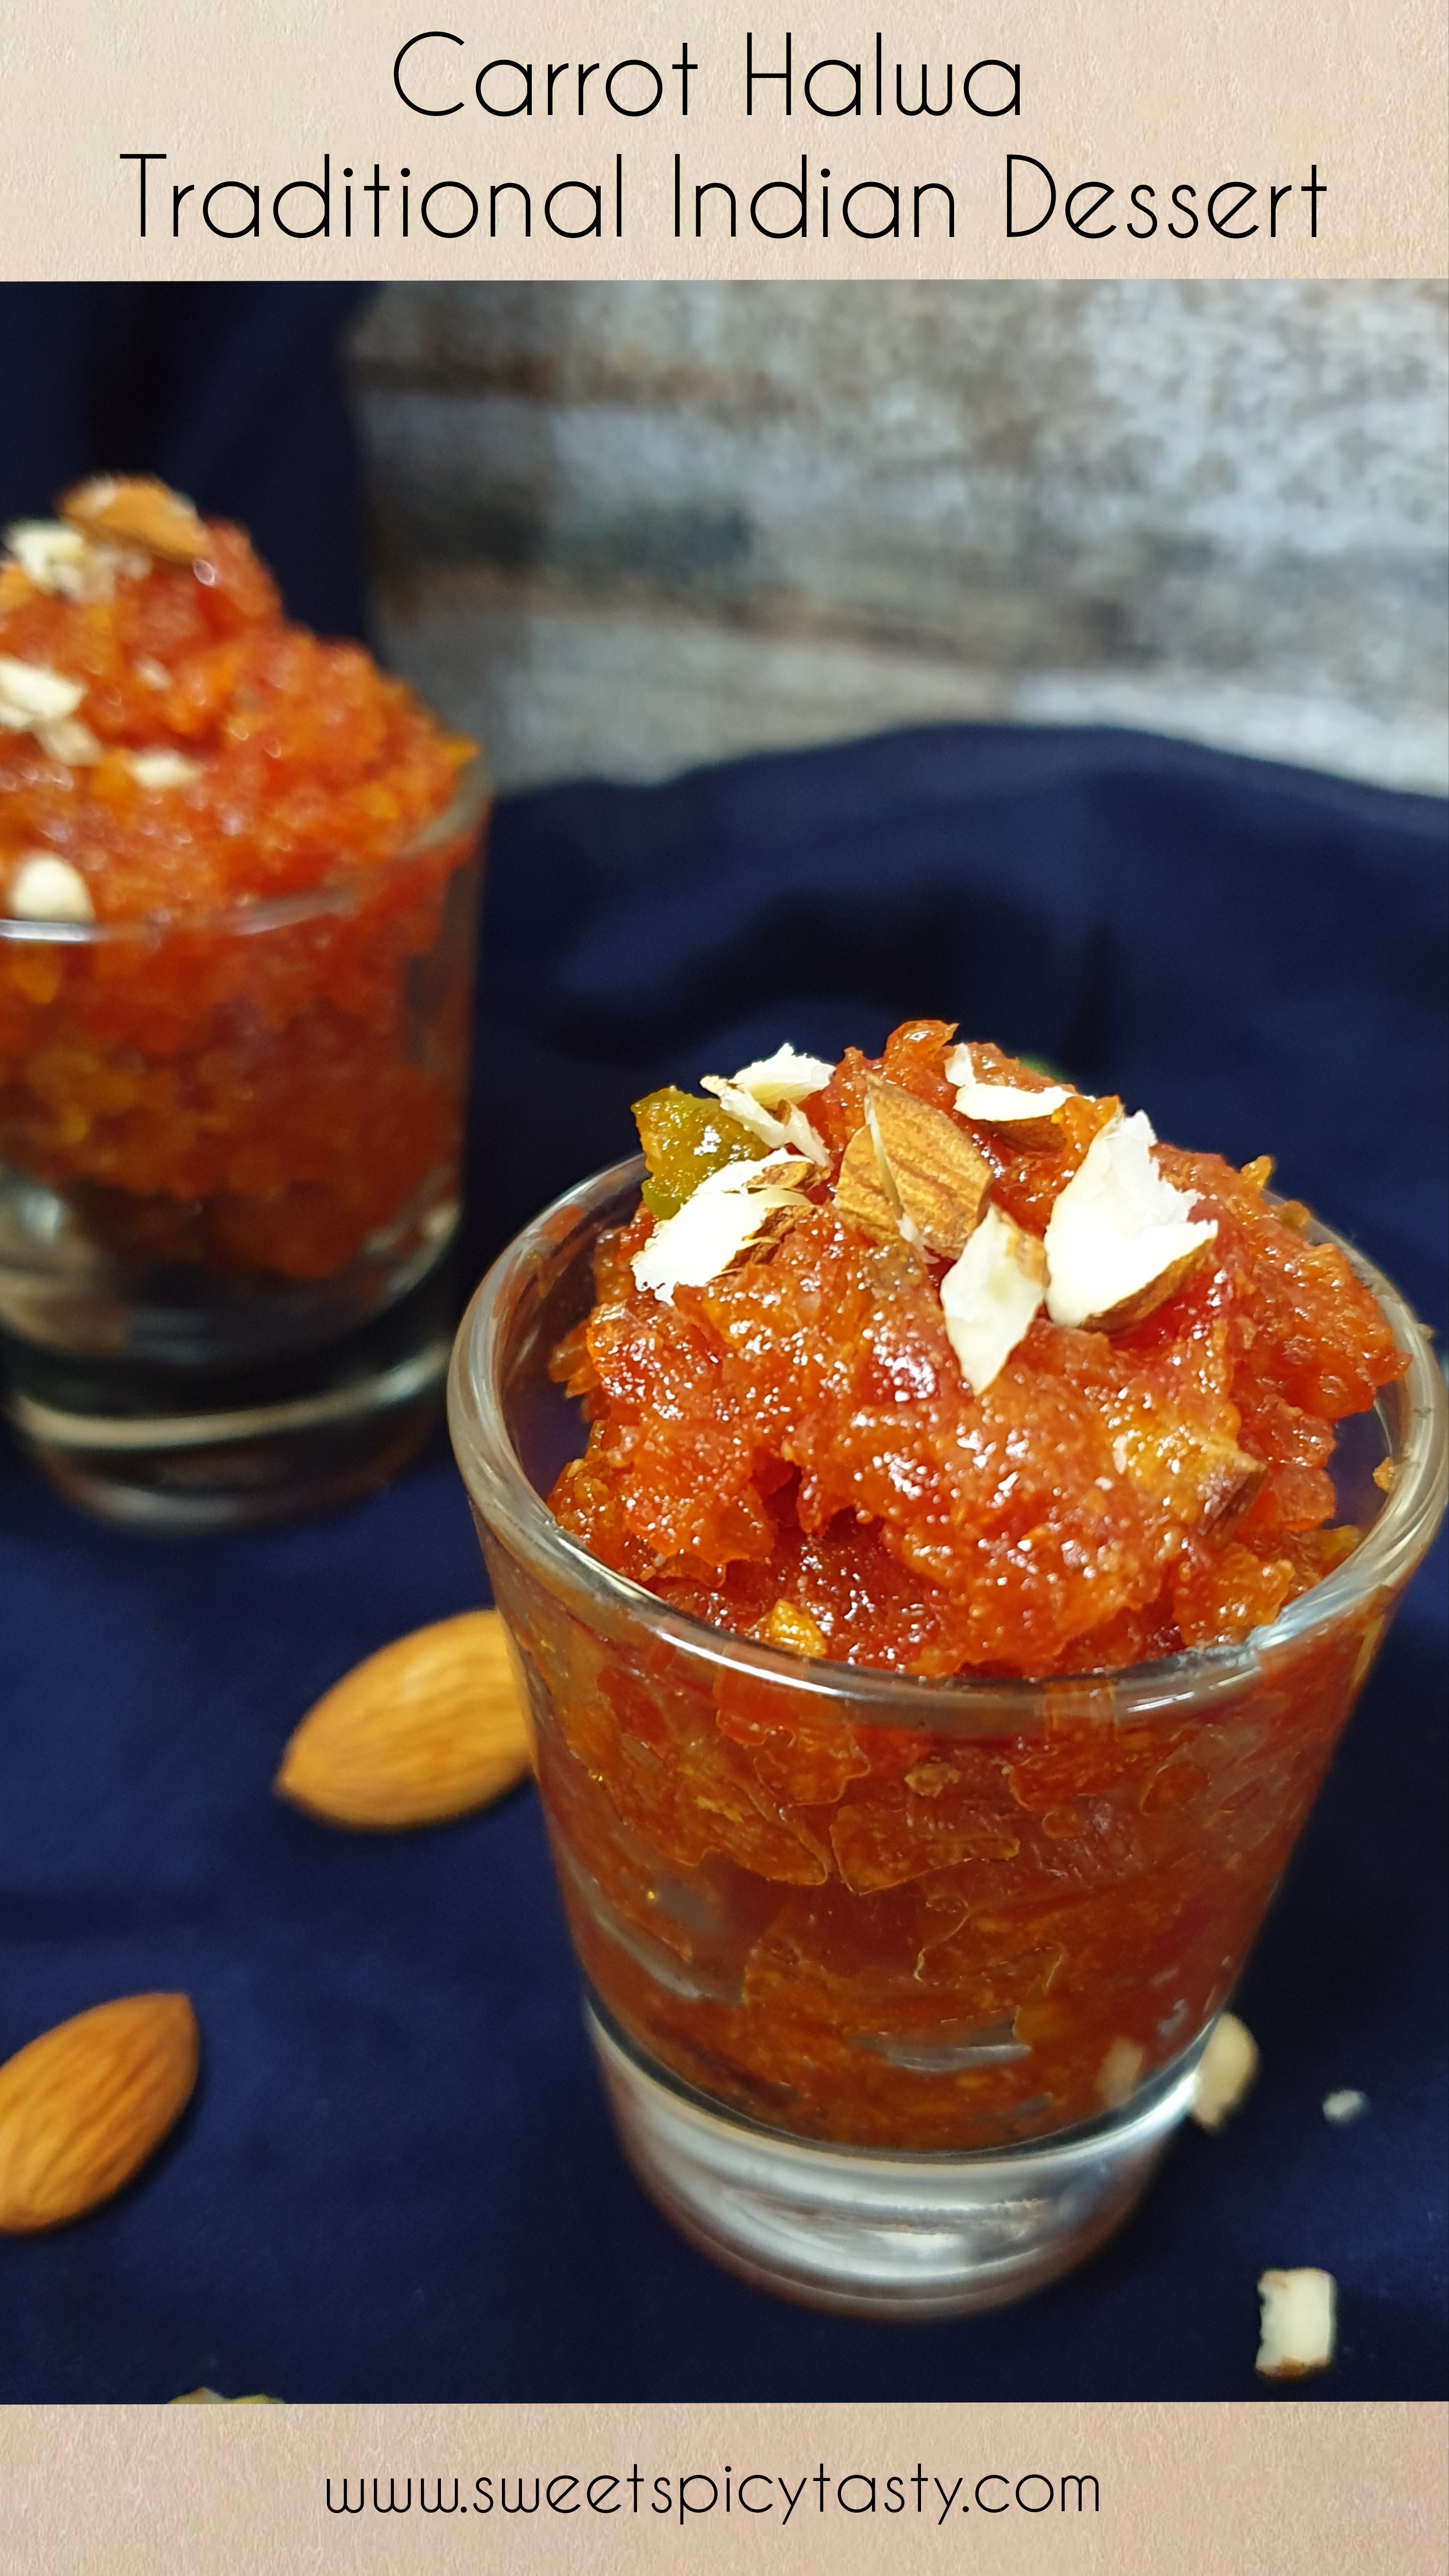
Gajar Halwa / Carrot Halwa - Microwave method


Share with friends and family 8 comments:

My mom had magic in her hands when she made gajar ka halwa. I try to make like her and have succeeded to a great extent.Amma always made carrot  halwa the traditional way where the carrots are cooked in milk until all the milk is absorbed and then simmered further with ghee and sugar . The traditional recipe is on my YouTube Channel and you can get the recipe here .

I customized the traditional recipe of slow cooking to make it in the microwave oven so that busy office goers or even bachelors can easily make it at home and enjoy the delicious halwa .
Taste wise I did not make out any difference between the two methods,just that the microwave method  gave me the Gajar Halwa quickly to please my Taste buds. 


Gajar halwa is mainly made in winters as the availability of Delhi carrots popularly known as Laal gajar or red carrots is abundant. But ,you can also make gajar halwa with the Ooty carrots or Orange carrots and they also taste yummy .In my home, Hubby is a fan on ooty carrot halwa while I relish both equally . I personally haven't found any stark differences between the two varieties of carrots used for preparing the halwa ,think its all personal preference and acquired taste.
I love to have warm gajar halwa with a scoop of vanilla icecream. This combination was introduced by my maternal grandpa who was a die hard sweet lover . Needless to say ,me being a fan of icecream as well as gajar halwa, this combo was a super hit with me .


This recipe was posted way back in 2013 on the occasion of V's birthday and after so many years it saw the light again today (13/1/2023) by way of which the photos and write up was updated for our fortnightly activity of Redoing Old posts ,an initiative by my fellow blogger Renu. This is the 92nd edition of Redoing old posts . I am hoping to be consistent with this activity so that many of my old posts get their desired face lift :-) 


Preparation Time : 15 mins
Cooking Time : 20-25 mins
Serves : 2-3

Ingredients
250 gms carrot grated
1 cup milk
2 cups sugar
3tbsp ghee
cardamom powder

For Garnishing

cashews - 4/5 pieces
almonds - 4/5 pieces
raisins  - 3/4 pieces
Unsalted pistachios 

Method
  • Peel and wash the carrots.
  • Grate them using a grater .Grate them just before you start making the halwa.
  • Take a microwave safe container,add the grated carrots,milk and cook in the oven for 15 mins.
  • After about  7-8 mins,take the container out of the oven,stir the mixture and place it back for the remaining time.
  • Once the carrots are cooked,add the ghee and sugar and place it again for another 10 mins.
  • Stir again, once after 5-6 mins and add the garnishing items and cardamom powder to the mixture and place it in the oven for balance time. 
  • After adding the sugar don't cook for a long time as there is a tendency for the halwa to turn hard and rubbery.  Incase due to oversight such a mishap happens,add some milk and mix well .This will help salvage the halwa .
  • The halwa starts leaving the sides of the container and you can see the ghee on top of the mixture. Yummy halwa is ready !!!
  • Serve hot or cold..Both taste yummy !

Note :
  • If the carrots are too juicy,squeeze out the juice with your hands before you put them for cooking.
  • In case you feel the carrots are not cooked in the first 15 mins,you can increase the time and check at intervals until the carrot is completely cooked. 

Serving Suggestions :

A scoop of vanilla ice cream with the halwa is an excellent combination.

Pin me up !!